Aniimo Mysterious Presence: All 9 Voxel Cube Locations
How to start Aniimo's Mysterious Presence at ChillBeanz in Astra, where all 9 Voxel Cubes are, every puzzle solution, the boss order and rewards.
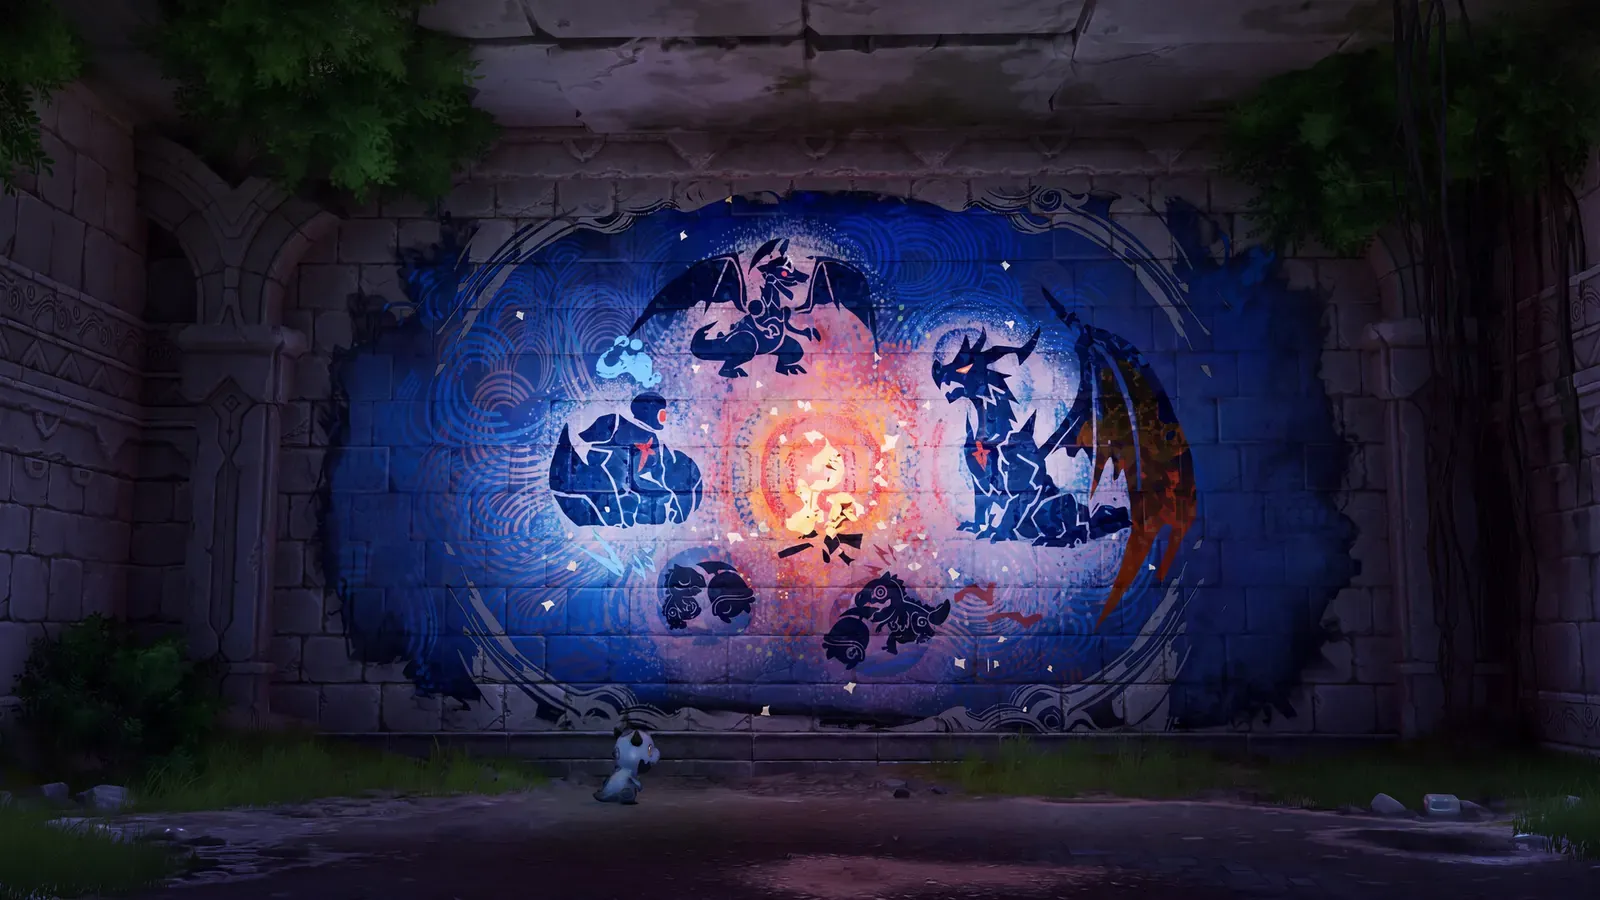
How do you start Mysterious Presence in Aniimo?
Mysterious Presence is a Journey side quest in Astra, and it begins in front of the ChillBeanz Cafe on the lower level of the Northside. Fast travel to ChillBeanz, or to the Boomblast Arena and walk north, then interact with the glitching sign at the cafe entrance. The sign drags you into another dimension, where you touch the floating cube and get pulled back to Astra holding your first Voxel Cube.
That interaction is also the quest’s unlock condition, and the game tracks it in a way that surprises people: the journal entry does not open until you are physically carrying 1 x Voxel Cube. So the anomaly is not optional flavour you can skip past. Once the cube is in your bag, finish the scene:
- Talk to Reno, the repairer standing near the sign at ChillBeanz.
- Fast travel to the Polaris Institute and speak with Dr. Bohr upstairs.
- Enter the Holo-Lab and talk to Nova, the holo-tech engineer.
Nova sends you back to the Northside to collect the rest. From that point the counter sits at 9, and the quest spans 34 tracked steps split across two sections, Mysterious Presence and Mysterious Presence - Super Claw Malfunction. The second section is not optional; one of the nine cubes is locked behind it.
New players often arrive in Astra under-levelled. If the Voxelic fight at the end is wiping your team, check the beginner guide for Pathfinder Rank pacing before you blame the puzzle chain.
Where are all 9 Voxel Cubes in Aniimo?
Eight of the nine cubes come from a specific interaction rather than a chest, and two of them are one-time puzzle boards that never re-arm. The table below follows the order the game’s own objective list walks you through. Coordinates are community-map data, not in-game quest markers.
| Cube | Landmark | Community coordinate | What to do | Notes |
|---|---|---|---|---|
| 1 | ChillBeanz Cafe front, Astra Northside | (20, 420) | Interact with the glitching sign to enter the anomaly dimension, then touch the floating cube | Auto-granted; opens the quest and unlocks Nova’s briefing |
| 2 | Behind ChillBeanz (Anii Apartment board) | (-12, 382) | Solve the sliding-tile board to repair the glitched display | Correct image sits on the left of the puzzle screen |
| 3 | Starwish Gacha, Chill Street | (-78, 386) | Solve the “Championship” sliding-tile board | Triggers Nova’s call that unlocks Super Claw Malfunction |
| 4 | Super Claw building rooftop | (-24, 426) | Start Super Claw Malfunction, talk to Jiff, investigate the holo projector on the roof | Cannot be collected before cube 3 |
| 5 | Swing east of Chill Street, near Super Claw | (-31, 406) | Sit on the swing with your Aniimo and fill the “Circle around” gauge | Cube appears behind the Helmut in the same clearing |
| 6 | Light strip east of ChillBeanz | (59, 402) | Step the eight ground tiles in order, first note to last | Must be you, not your Aniimo; under 3 seconds between steps |
| 7 | Seesaw west of Horizon Square | (-7, 444) | Ride the seesaw with your Aniimo and fill the “Faster” gauge | Cube appears behind the Hummin nearby |
| 8 | North of Horizon Square, at Judy’s street band | (64, 583) | Tune the band: Chirpi “Hey.”, Tromber “Hey, hey.”, Cornet “Hey, hey, hey, hey.” | Tubster already plays the right part |
| 9 | Northwestern overpass of Horizon Square | (36, 503) | Step the second eight-tile light strip in order | Same timing rule as cube 6 |
[!warning] The coordinates are community data, and the pairing can be read two ways The coordinate set above comes from Aniimo Tools’ quest journal, which lists nine cube points and nine associated activities. Launch-week walkthroughs at Game8 and Power Up Gaming agree on the activities and on the landmark for each cube, but none of them publish numbered coordinates. Treat the coordinate column as a position hint and the landmark plus activity as the instruction that actually gets you the cube.
How do you find the puzzle boards without map markers?
You do not, at first. Early cubes have no map pin at all, which is why so many players stall after cube 2. Nova’s second phone call changes that: after you finish the light strip east of ChillBeanz, she starts marking every remaining malfunction site on the map. Sequence matters here, so do cube 6 before you go hunting for the swing, seesaw and band.
The three sliding-tile boards (ChillBeanz, Anii Apartment, Starwish Gacha) all work the same way. The scrambled grid sits on the right of the screen and a faded reference image sits on the left. Slide the tiles until your grid matches the reference. Nothing is timed, so there is no way to fail one permanently.
How do you solve the swing, seesaw and light-strip puzzles?
These four cubes are the ones that produce the “I did the thing and nothing happened” posts, and every failure traces back to timing or to who is standing on the trigger.
The swing needs your Aniimo seated with you. Press the interaction button (Play, Q on keyboard) exactly when the swing reaches the back of its arc. That is the only moment that adds meaningful momentum. You are filling a three-segment “Circle around” gauge; a complete loop spawns the cube behind the Helmut in the same area, not on the swing itself.
The seesaw inverts the input. Sit with your Aniimo and press Play while you are high and your Aniimo is down at the ground. Three segments of the “Faster” gauge and the cube appears behind the Hummin standing nearby.
Both light strips are physical, not ability-based. Walk across the eight coloured ground tiles in note order, first to last, keeping less than three seconds between consecutive tiles. The timing window is the whole puzzle: stop to check the route and the sequence resets. Standing on a tile as your Twined Aniimo does not register, so dismount first.
Judy’s street band north of Horizon Square is a memory puzzle rather than a rhythm one. Offer to help Judy recall the song from her dream, then approach each musician and pick the matching line:
| Musician | Line to pick |
|---|---|
| Chirpi | “Hey.” |
| Tromber | “Hey, hey.” |
| Cornet | “Hey, hey, hey, hey.” |
| Tubster | Already correct, leave it alone |
[!tip] Do the light strip before the band Nova’s map markers unlock on the light-strip step, so completing cube 6 first turns the last three cubes into tracked objectives instead of a manual search of the whole Northside.
How do you beat the Voxelic bosses at the end of Mysterious Presence?
With all nine cubes in hand, Nova calls you back to the Holo-Lab at the Polaris Institute. A portal door has opened inside the lab. Enter it, let the dialogue play, and you fight three Voxelic forms back to back with no healing break between them.
| Fight | Element | Hit it with | Why it matters |
|---|---|---|---|
| Voxelic Panpanta | Water | Grass, Electric | First phase, lowest pressure |
| Voxelic Geoclaw | Ice | Fire, Earth | Second phase; its Geoclaw frame resists Water teams |
| Voxelic Stellarys | Dark | Light | Final phase; the hardest of the three |
Build the team around the last phase, not the first. A Light attacker plus Fire and Grass coverage on the bench covers all three without swapping gear mid-run. Bringing a single Water team is the most common way to lose the run at phase two.
When the last form drops, nine Data Chips scatter across the arena floor. Read every one. Each holds a picture from the Voxel’s memory, and the quest will not progress until all nine are collected. Afterwards, approach the Holo-Core and keep talking to it. The conversation ends with you naming the cube Aimo, which grants the Aimo Core.
That is not the end. Three more conversations close the quest, and all three are marked on the map: Nova inside the Holo-Lab, then Professor Bohr outside the lab, then Principal Oswen.
[!critical] Do not leave the arena before reading all nine Data Chips The chips are the only record of the Voxel’s memory and the naming scene will not fire without them. Players who portal out early report having to re-enter the space, which costs a full round trip through the Polaris Institute.
What do you get for finishing Mysterious Presence?
The payout is the largest single resource bundle of any Aniimo side quest, which is why the page keeps getting searched even after launch week. Four independent outlets, including GameSpot and Game8, list the same four currencies. The same totals appear in Power Up Gaming’s full cube walkthrough.
| Reward | Amount |
|---|---|
| Voxel Coin | 200 |
| Glimmer | 50 |
| Credits | 60,000 |
| Safaris | 1,000 |
| Aimo Core | 1 (story item, granted when you name the cube) |
The companion section, Mysterious Presence - Super Claw Malfunction, pays its own smaller bundle when Jiff’s rooftop projector is investigated: 500 Safaris plus a Glimmer payout.
Official source: Aniimo on Steam — Pawprint Studio’s store page, which lists the platforms and release window for the build these steps were verified against.
No published reward table for Mysterious Presence includes Chill Beanz, despite early community posts naming it as a reward. All four outlets we checked list Voxel Coin, Glimmer, Credits and Safaris plus the Aimo Core. Treat the Chill Beanz claim as unconfirmed. The same caution applies to Voxel Coin totals: several guides quote the 200 figure for the main quest alone, while the sub-quest adds its own smaller amounts.
What do most players miss in Mysterious Presence?
The Voxel Cube chain hides four traps that are not obvious from the objective text, and each one produces a stuck player:
- Skipping the anomaly. The quest will not log until the first cube is in your bag. If the journal entry is missing, you have not touched the floating cube yet.
- Treating Super Claw Malfunction as optional. Cube 4 is inside that sub-quest. Ignoring Nova’s call leaves you permanently at eight of nine.
- Stepping the light strips as your Aniimo. Both strips require the Pathfinder to walk the tiles. Twined Aniimo steps do not count.
- Only doing one light strip. There are two identical eight-tile strips, one east of ChillBeanz and one on the northwestern overpass. Both are mandatory.
- Assuming a blank map means a bug. Map markers only appear after cube 6. Before that, the game genuinely expects you to search.
- Leaving before the Data Chips. The chips are not collectibles; they are a gate.
If the whole Astra detour is burning you out, the region’s Prismana side content is a better use of a short session. Our overview of Prismana Flow explains the weather-driven encounter system, and the Aniimo codes page is worth a glance before you spend the 50 Glimmer you just earned.
Related
- Secret of the Golden Helmet — the Russet Highlands hidden scene, with the same “no journal entry” problem
- Sword of Bravery — the Warrior quest chain that unlocks Helmut’s Pawney evolution
- Egg Gifted from Flowers — the endgame Prismana Iris egg and the ten-colour hand-in
- Geoclaw — the Ice frame behind the second Voxelic phase
- Aniimo beginner guide — level pacing before you attempt the Astra chain
Related Articles
quests
Egg Gifted from Flowers Aniimo: Prismana Iris Egg Guide
What the Aniimo Egg Gifted from Flowers is, where the ten-colour Fragrant Dream hand-in happens, the Sea of Flowers gathering loop and whether it is worth the trip.
quests
Aniimo Secret of the Golden Helmet: Hidden Scene Walkthrough
Where the Aniimo Golden Helmet scene is in Russet Highlands, how to sneak past the Devoted Helmut with a Cloak Aniimo, and what it unlocks.
quests
Aniimo Sword of Bravery: Warrior Quest Walkthrough (Pawney)
How to pull out the Aniimo Sword of Bravery: the real quest name, where Sorora starts Warrior in Russet Highlands, the Infergon fight and Pawney.
Was this helpful?
Thanks for the feedback!